Passive Solar Home Design
For our first project of the second semester, we focused on applying the knowledge we had gained of heat, radiation, convection, conduction, and the angles of the sun's rays to create a solar water heater, a model of a home that used solar energy instead of electricity, a reflector panel for the Solar Studio, and a cold frame for our school garden.
Designing a Hot Water Heater
The first small project in this larger project was to build a solar water heater. Our groups were to use our new knowledge of radiation, convection, and conduction to create a heater from a cardboard box, a plastic bottle/container, and a few other materials. Our group decided to stay with a very simple design, and once we knew our heater would work, we could tweak it to be more efficient at absorbing heat.
The first step to creating the heater was to drill one hole on either side of the shoebox we were using. We then used copper tubing to move through the box in a curvy formation. We then attached some plastic tube to the start of the copper tubing to attach the water container. Once the tube was placed, we lined our shoebox with aluminum foil to reflect light onto the tube. We also placed clear plastic wrap onto the box so that light could be absorbed and would stay inside the box. Newspaper also helped us to insulate our heater.
Compared to the heat gain of some of our classmates, our solar water heater worked fairly well. We started with 1000 mL of water in the container, and throughout the process of collecting the water from the other end of the system and placing it back into the container, we lost 100 mL. Many other groups lost much more than this, but we succeeded because of the imperviousness of our heater. The heat gain of our heater totaled at 22,604.4 Joules.
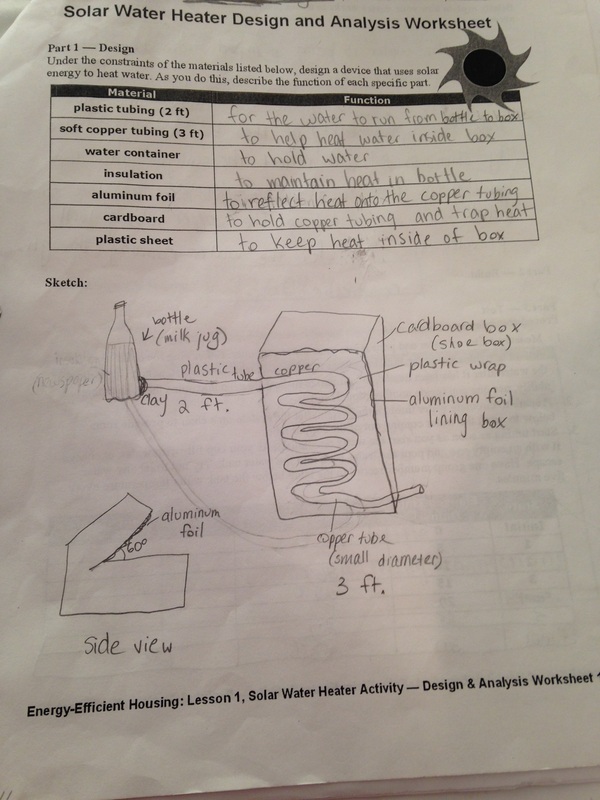
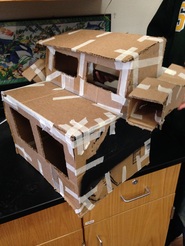
Designing our heater
|
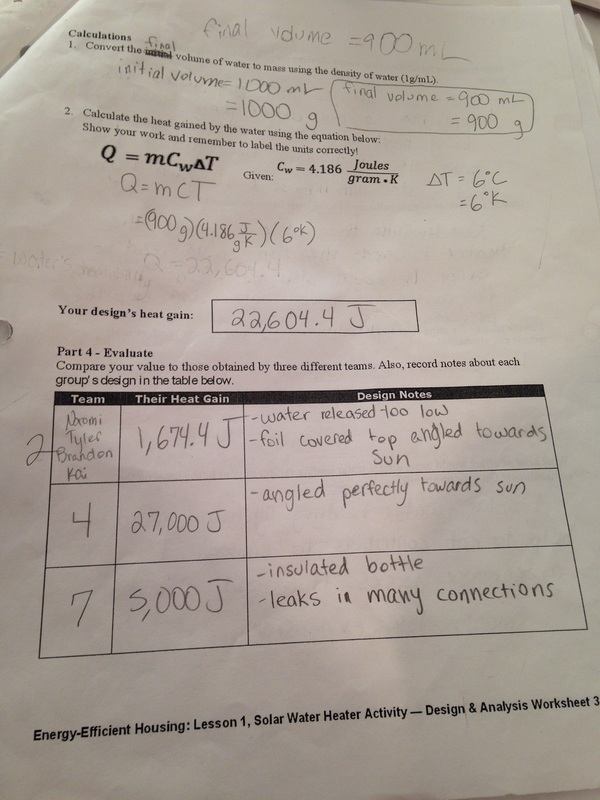
The calculations behind our total heat gain
|
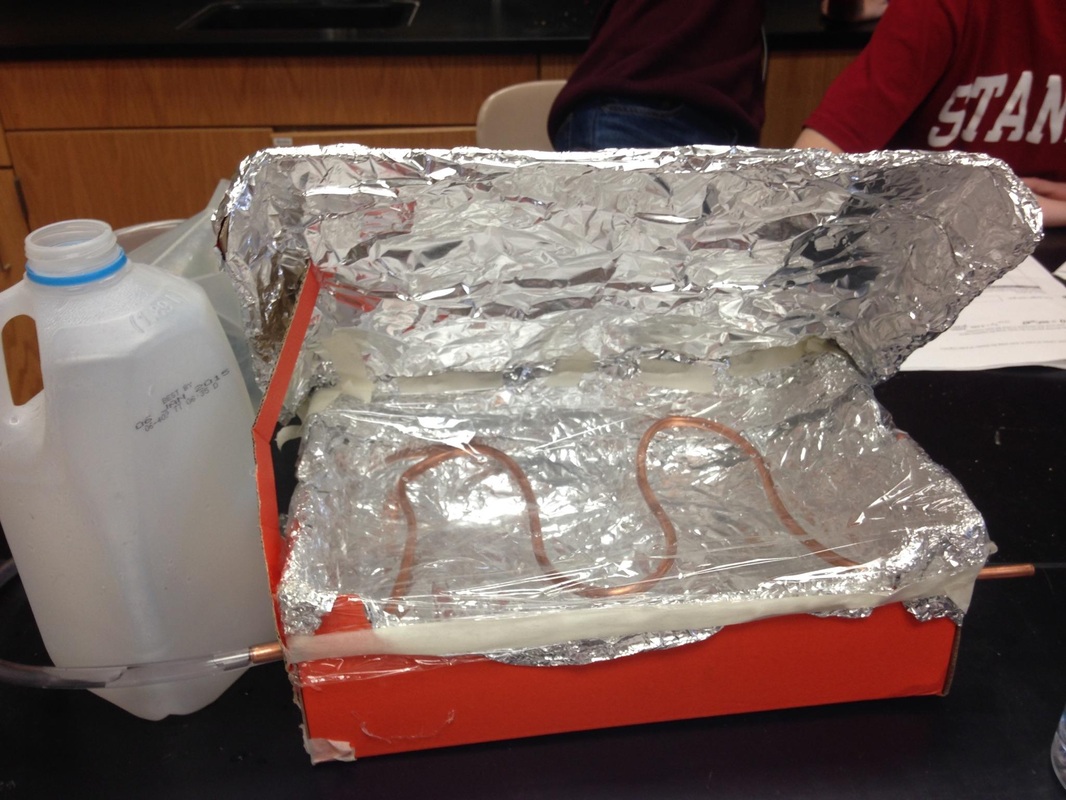
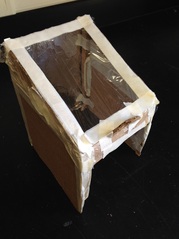
Our Finished Water Heater
|
Solar Angles
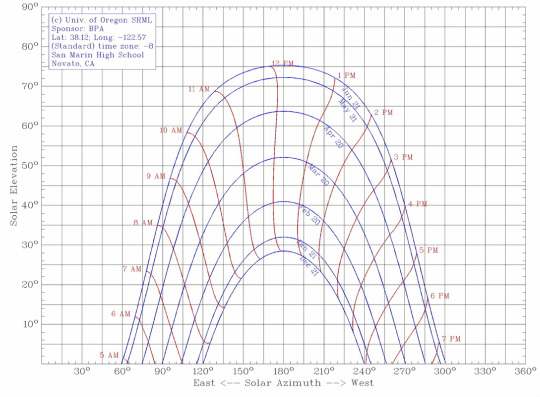
In order to create our water heater and complete almost all of the projects in this unit, we needed to be familiar with the angles of the sun.
Some of the facts we learned that would benefit us while working were:
In order to create our water heater and complete almost all of the projects in this unit, we needed to be familiar with the angles of the sun.
Some of the facts we learned that would benefit us while working were:
- Vertical light (at 90*) is the brightest and most concentrated, so it gives the most light and heat per unit area
- During seasons, the hemisphere tilted towards the sun receives more vertical light and experiences summer, while the hemisphere tilted away from the sun receives more slanted light and experiences winter
|
Daylighting Design
The next project we did in this unit was based on lowering the energy consumption of a house we designed. The first step in this was to design a 1,000 sq. ft. house. Our groups then all had the task of estimating the amount of 60-watt incandescent lightbulbs needed in the house we had designed. We decided on 47 total light bulbs and 5.3 hours per bulb. This meant that the total energy consumption was 14.946 kilowatts. In order to lower the energy used, we needed to learn what could be used to replace light bulbs. We learned about the many substitutions of electricity to get light exposure.
|
|
Site Selection
Even though we would not use the sites we had selected for a house, it was still educational to do examine the different sites a house could be placed on our school campus. To complete this activity, we ventured through our school's campus to search for a site that would be ideal in many different aspects. These included noise, sun exposure, soil for gardening, amount of space, disruption by animals and humans, its beauty, wind, temperature, accessibility, and the slope of the area on which it was located. The three sites we chose from were a grassy hill near the side of the school, a flat, rather dry area near the football field, and an area near the back of our baseball field, away from the school buildings. In the end we decided on the grassy hill mainly because of its beauty, noise, and sun exposure. The other sites were close, but we either too windy or prone to disruption.
Even though we would not use the sites we had selected for a house, it was still educational to do examine the different sites a house could be placed on our school campus. To complete this activity, we ventured through our school's campus to search for a site that would be ideal in many different aspects. These included noise, sun exposure, soil for gardening, amount of space, disruption by animals and humans, its beauty, wind, temperature, accessibility, and the slope of the area on which it was located. The three sites we chose from were a grassy hill near the side of the school, a flat, rather dry area near the football field, and an area near the back of our baseball field, away from the school buildings. In the end we decided on the grassy hill mainly because of its beauty, noise, and sun exposure. The other sites were close, but we either too windy or prone to disruption.
|
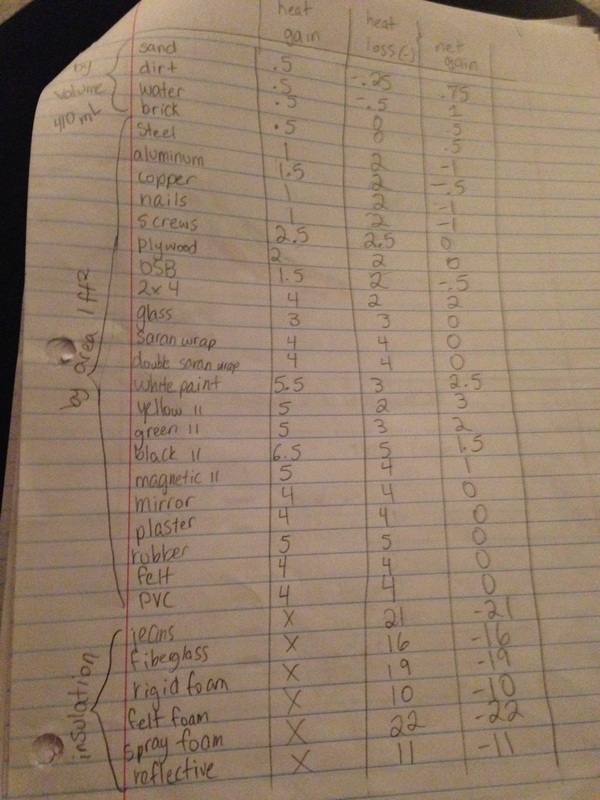
Materials Testing
Before creating our cold frames and reflector panels, we needed to be more familiar with the materials we could be using. This was important because we eventually created designs using the materials we had found best fit. We tested materials in the categories of insulating, conducting, reflecting, and absorbing and holding heat. The table of materials we tested is shown at the right with their heat gain, loss, and net gain. |
|
Designing a Cold Frame
One part of the main project in this unit was to design a cold frame for our school's garden that could be useful for some of our colder winter months. The slideshow that is attached contains the key features of the design, the materials we chose based on the Materials Testing Lab, and the cost of those materials to calculate our total budget. Our design and model showed a simple design, with an angle to the sun of approximately 30 degrees. We added an acrylic sheet to the bottom of our cold frame to have more light exposure. We also created detailed blueprints for the box to make it easy for anyone to build.
Solar Reflector Panel
The other main project of this unit was creating a way to make the north window of the Solar Studio more useful when it comes to absorbing and reflecting heat. Last year, students designed a reflector panel that would sit outside of the house, but the parts to put the plan into action were unfortunately stolen. This meant that it was our job to come up with another design that would work just as well, or better.
We started out creating our designs by taking many of the dimensions of the Solar Studio so that we could proportion the design and scale model correctly. It was then completely up to us to use our knowledge of solar angles and materials best for absorption and reflection to design a reflector panel or another idea to make the window useful.
My specific group decided to branch out from the simplest idea. This idea was to place a duct system around the sides of the house that would capture the light from the south side of the house through tubes and direct the light though the window. Our design was not too complicated, but a bit on the pricey side and possibly difficult to build and place based on its size.
|
|
|
|
Justification
We needed to justify the reason we wanted to learn so much about solar energy and angles to put them into action with our cold frame and reflector panels, so we researched about various topics regarding energy and the sun and put them into a document. |
|
Generation of Electricity
The last part of the large project was to learn about how wind turbines can generate the electricity that could be used for the Solar Studio. We learned about both HAWT's, horizontal-axis wind turbines, and VAWT's, vertical-axis wind turbines. After researching the materials and techniques used by designers to make high-quality wind turbines, we created small versions of them with our own designs and tested them for the voltage produced. Our group created wind turbines from simple designs and constructed them from manila folder. From the data collected after testing, we found that most of our class was more successful with the horizontal wind turbines. We used our information to find out the best site and turbine to have the maximum amount of electricity.
The last part of the large project was to learn about how wind turbines can generate the electricity that could be used for the Solar Studio. We learned about both HAWT's, horizontal-axis wind turbines, and VAWT's, vertical-axis wind turbines. After researching the materials and techniques used by designers to make high-quality wind turbines, we created small versions of them with our own designs and tested them for the voltage produced. Our group created wind turbines from simple designs and constructed them from manila folder. From the data collected after testing, we found that most of our class was more successful with the horizontal wind turbines. We used our information to find out the best site and turbine to have the maximum amount of electricity.
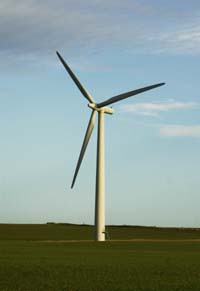
HAWT
|
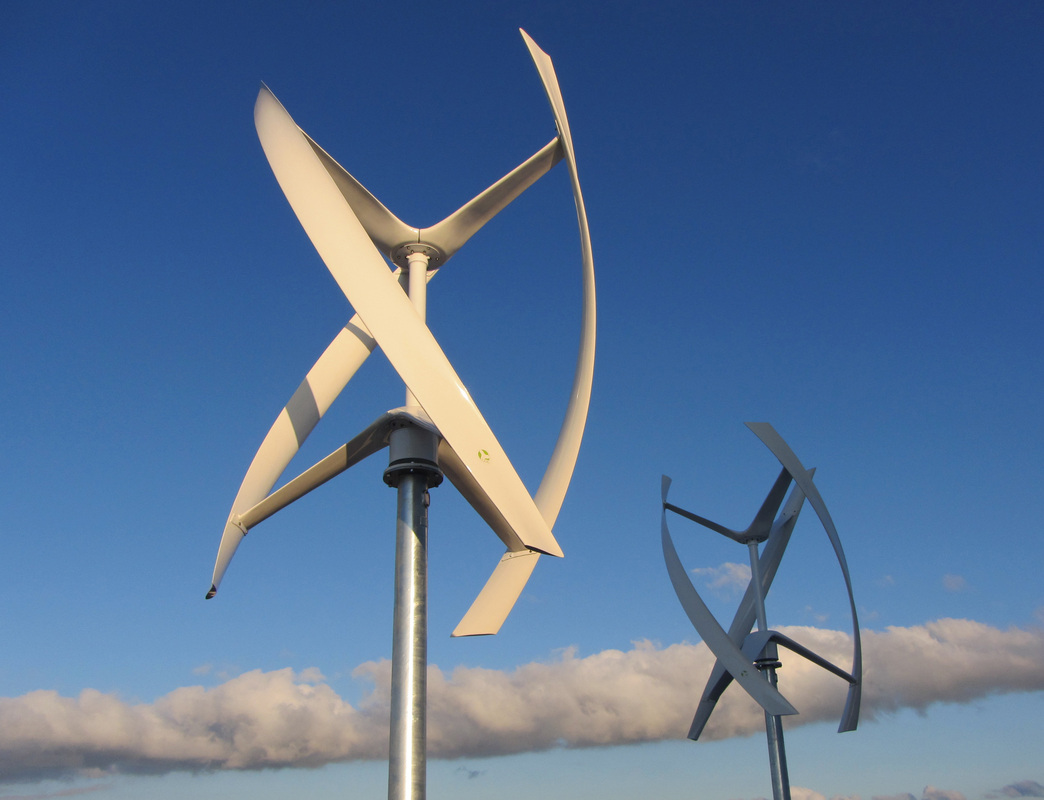
VAWT
|
Reflection
The Passive Solar Home was the longest of our projects this year, which means I have the most to reflect upon. During the entire project, my group did very well with working out problems and avoiding arguments. During the making of our solar water heater and our other designs, we were able to quickly agree on the large aspects of our designs. Even if we disagreed about a part of our project, such as when we were unsure about the structure of our reflector panel, we were able to easily work through our problems and compromise, like making our panel out of a type of wood one person liked and the shape another person liked. This taught me that in order to be successful, it's important to compromise and end up with a project the entire group is happy with. Another peak of this unit was learning so much about the importance of saving energy and understanding the importance of different kinds of energy. With our daylighting activity, I became more interested in the amount off electricity my family uses and how we could save money on it.
There were of course some pits to the process of this project, as with all the past ones. The first pit was the ability of our group to stay on task while having so many tasks at once. For example, while one person was building a scale model, it was difficult for another group member to find another task without getting distracted. The main thing I learned from that was that it's always a good idea to have a plan set out. Another pit was our preparation for our presentation. Since we were always crunched on time, our presentation had to be read from the script almost completely, and we had only one practice run-through. If we had created the script while completely each step of the project, we might have been more prepared and had a more natural-sounding presentation.
